

Bathroom Remodel Checklist: Budget, Materials, Permits, and Timeline
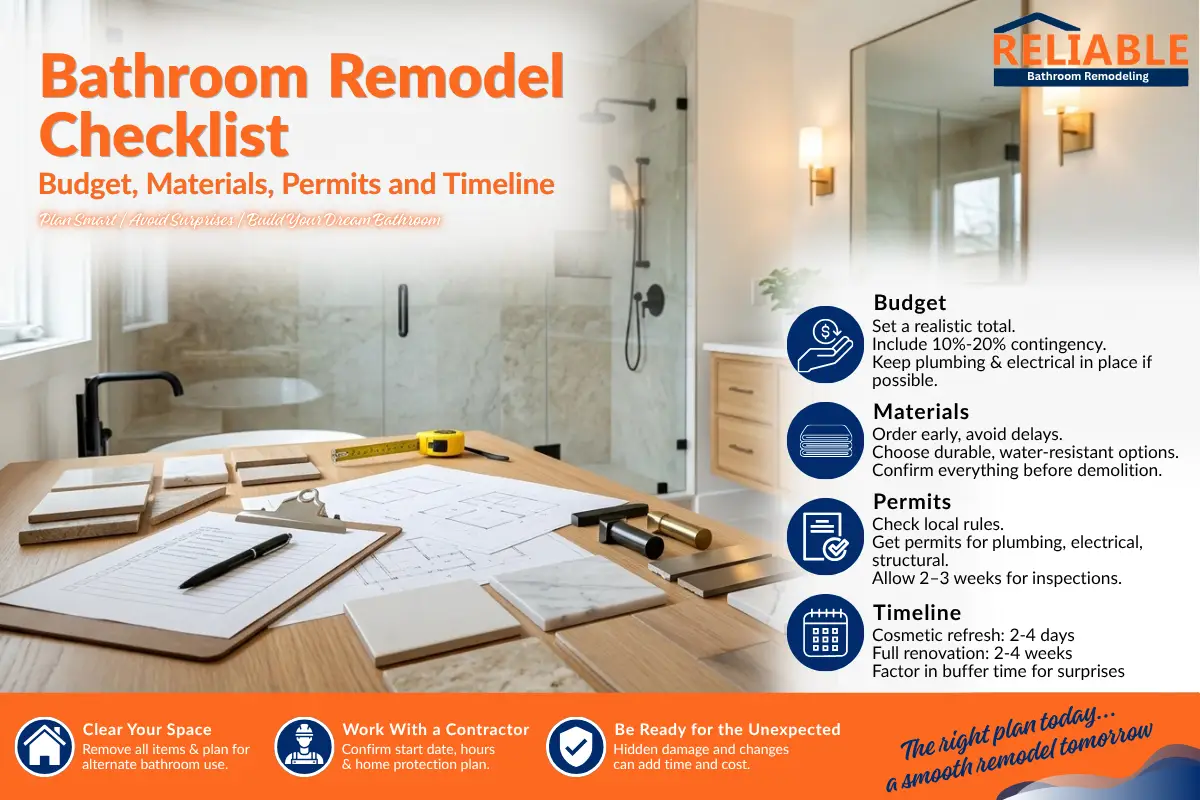
Most bathroom remodels do not go wrong on demolition day. They go wrong three weeks earlier, when nobody wrote down the shower valve model, nobody checked the drain location, and the vanity ended up on a six-week backorder. A bathroom is a small room with a large number of decisions, and each one depends on another.
A well-organized bathroom remodel checklist helps prevent these problems by putting every decision in the right order. This checklist takes you from the initial planning stage to the final walkthrough, covering everything from budgeting and choosing materials to permits and project timelines. Tick off each task as you complete it, skip anything that does not apply to your project, and keep the list accessible to your contractor. Sources and prices were checked in November 2026.
Quick answer
Work in this order: define your goals and measure the room, set a budget with a 10 to 20 percent contingency, settle the layout and materials before you order anything, hire and sign a detailed written contract, confirm permits, order everything before demolition, then run a weekly check-in schedule through the build and a final walkthrough. The USA Cabinet Store says design takes 2 to 4 weeks and ordering can take 3 to 12 weeks, so most of the calendar happens before the crew arrives.
Step 1: Goals and measurements
Start with why. A bathroom remodel to fix a leaking shower is a different project from one meant to add resale appeal or make the room safer to use at 75. Your reason decides where the money goes.
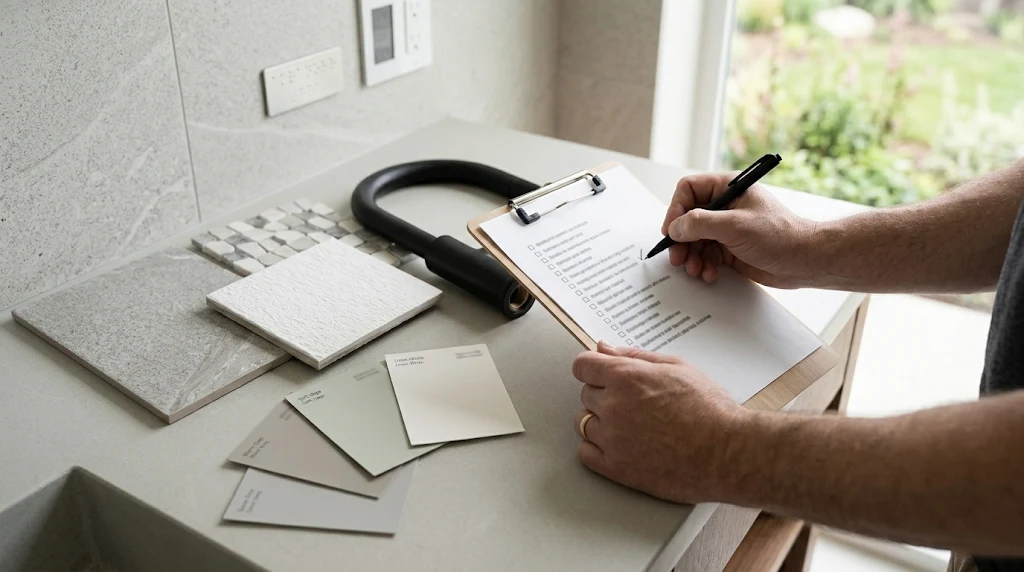
- ☐Write your top three goals, such as fix a leak, add storage, make the shower safer.
- ☐Split the list into must-haves, nice-to-haves and not-for-now.
- ☐List who uses this bathroom and any mobility, height or storage needs.
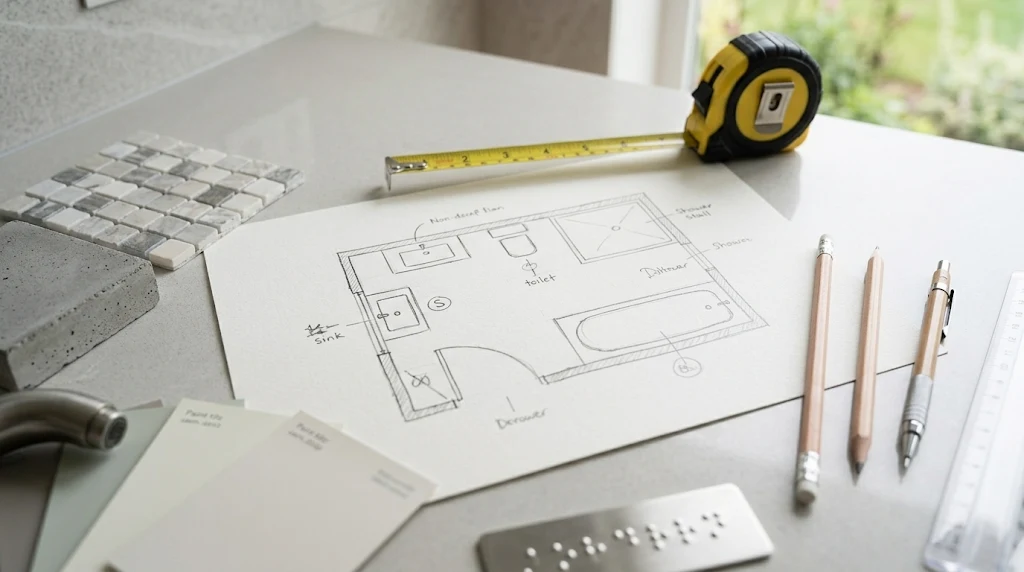
- ☐Measure the room, the doorway, the window and the ceiling height, and sketch the layout.
- ☐Note where the toilet, tub or shower and sink drains sit today.
- ☐Record the home’s age. Older homes can hide lead paint, old wiring and outdated pipes.
- ☐Photograph the room, including under the sink and the access panels.
- ☐Check for existing problems: soft floor spots, mold, stains, slow drains, poor ventilation.
If your home was built before 1978, ask about lead. The EPA says its Renovation, Repair and Painting Rule requires firms paid to disturb painted surfaces in those homes to be certified and use lead-safe work practices.
Step 2: Budget
Budgeting is where checklists earn their keep. The HomeLight article reports that the National Kitchen and Bath Association suggests spending about 5 to 10 percent of a home’s value on a bathroom remodel. That is a rule of thumb, not a requirement, and it varies by market. Use it as a sanity check, not a target.
A widely quoted NKBA-style breakdown, as reported by Apartment Therapy, shows where a typical budget goes. The right column is my own arithmetic on a $20,000 example:
| Category | Share of budget | On a $20,000 budget |
|---|---|---|
| Labor | 20% | $4,000 |
| Cabinetry and hardware | 16% | $3,200 |
| Fixtures | 15% | $3,000 |
| Faucets and plumbing | 14% | $2,800 |
| Flooring | 9% | $1,800 |
| Countertops | 7% | $1,400 |
| Walls and ceilings | 5% | $1,000 |
| Lighting and ventilation | 5% | $1,000 |
| Doors and windows | 4% | $800 |
| Other | 1% | $200 |
The percentages as quoted add up to 96, so treat the table as a rough guide. Also note that sources disagree on labor. Bob Vila says labor can make up 40 to 65 percent of a remodel budget, far above 20 percent. My read is that the difference comes from what each source counts as labor, since installation is often priced inside plumbing, tile and fixtures. Ask any contractor to show labor and materials separately so you can compare quotes fairly.
- ☐Set a total number you can afford, including the contingency.
- ☐Add a contingency of 10 to 20 percent for surprises, especially in older homes.
- ☐Ask whether the quote includes general contractor management. Bob Vila says it often adds 10 to 20 percent on top of subcontractor costs.
- ☐Include permits. Block Renovation reports permits typically run $100 to $1,000, and separate plumbing and electrical permits can stack.
- ☐Include delivery, disposal and temporary bathroom needs.
- ☐Decide how you will pay: savings, a loan or both, and the timing of each.
- ☐Get a starting range for your scope from the pricing overview for comparison.
The while-we’re-at-it trap
Budgets rarely break on the big decisions. They break on small additions: a niche here, a heated floor there. Add a line to your budget called “extras” and give each extra a price before you say yes.
Step 3: Layout and design decisions
Layout decisions have the longest ripple effect. Moving a toilet or shower changes plumbing, framing and floor work. Keeping fixtures where they are is the quickest way to hold the schedule and the budget.
- ☐Decide whether fixtures stay in place or move, and price both options.
- ☐Choose a shower or tub style, and confirm the size and drain position. For a step-free design, review the no-threshold shower details.
- ☐Plan storage: vanity drawers, a niche, a linen cabinet or wall shelves.
- ☐Plan lighting in three layers: ambient, task at the mirror and a wet-rated light in the shower.
- ☐Plan ventilation. Confirm the exhaust fan size and that it vents outdoors.
- ☐Decide on floor heat early, since it affects the floor build-up. See the in-floor heating details.
- ☐Add solid blocking in walls where grab bars, a shower seat or heavy shelves might go later.
- ☐Choose a finish palette and make sure samples look right in your actual bathroom light.
Step 4: Materials and lead times
Ordering is the quiet bottleneck. The USA Cabinet Store says tile, vanities and shower glass can take 3 to 12 weeks depending on the item. Order everything, confirm delivery dates and check for damage before demolition begins. Otherwise your crew waits, or your bathroom sits open.
| Item | Decide before ordering | Why it matters |
|---|---|---|
| Vanity and top | Size, sink cutout, faucet holes | Custom or special-order tops have long lead times |
| Tile (walls, floor, niche) | Size, pattern, grout color, and extra for waste (installers often suggest around 10 percent) | Discontinued lots are hard to match later |
| Shower valve and trim | Valve brand, pressure-balanced or thermostatic | The rough-in valve must match the trim |
| Shower base or pan and waterproofing | Type and manufacturer | Waterproofing is installed before tile and needs cure time |
| Toilet | Rough-in distance, height, flush type | Rough-in must match the toilet |
| Shower glass | Door or panel, framed or frameless | Often made to measure after tile is set |
| Mirror, lighting, fan | Dimensions and electrical locations | Wiring is placed before drywall |
| Flooring | Material, thickness, transitions | Thickness affects door clearance and floor height |
- ☐Collect every product spec sheet and keep it in one folder.
- ☐Check the drain and supply rough-in dimensions before buying fixtures.
- ☐Order all long-lead items first.
- ☐Confirm delivery dates in writing and ask where materials will be stored.
- ☐Inspect deliveries for damage before the crew starts.
Step 5: Hiring and the contract
Hiring is its own checklist, and consumer agencies are consistent on the basics. The Federal Trade Commission and the Illinois Attorney General both advise getting multiple written estimates, checking references and getting everything in writing. The Illinois Attorney General also says to expect a written contract for home repair or remodeling work over $1,000.
- ☐Get at least three written estimates for the same scope.
- ☐Check license or registration where required, and ask for the proof of insurance.
- ☐Ask for recent references on similar bathrooms and call them.
- ☐Confirm whether the crew is in-house or subcontracted.
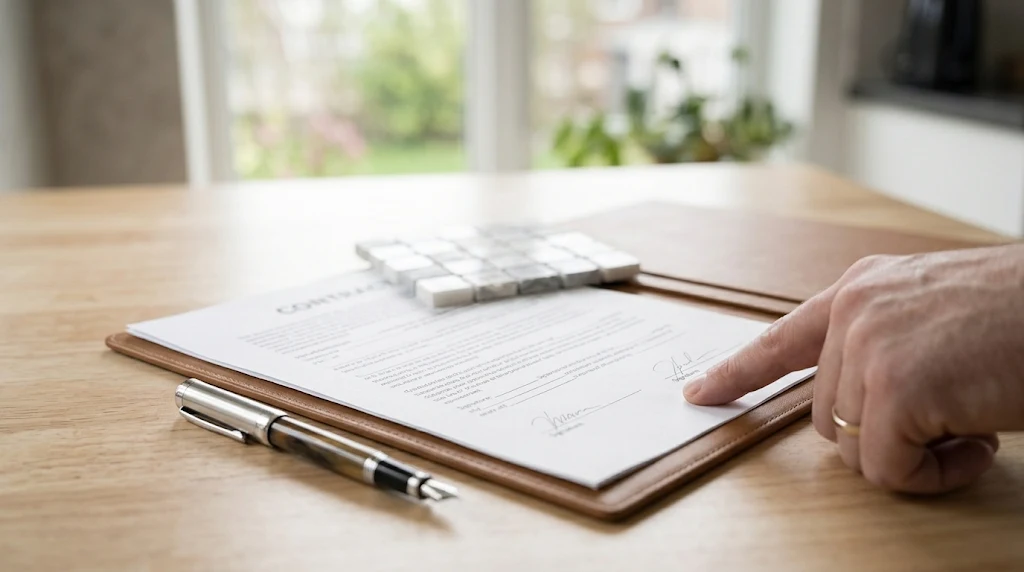
- ☐Read the contract before signing, and do not sign with blank spaces.
- ☐Make sure it lists materials by brand and model, start and completion dates, total price and payment schedule.
- ☐Tie payments to finished stages, and keep any deposit as low as you can negotiate.
- ☐Ask how changes are handled. Any change should be written, priced and signed before the work.
- ☐Ask about lien waivers and subcontractor payments, and keep final payment until paperwork is complete.
- ☐Know your cancellation rights. The FTC notes a three business day right to cancel for many contracts signed at home.
Treat the first meeting as an interview of the contractor, not just a sales call. It also helps to review projects to browse before you decide so you know what scope and finish level you are comparing.
Step 6: Permits and inspections
Rules vary by city, state and scope, so this section is general information, not legal advice. In many places, moving plumbing or electrical, changing the shower pan or altering the room’s footprint needs a permit, while a like-for-like fixture swap often does not.
- ☐Ask your building department which permits apply to your exact scope.
- ☐Ask who applies for each permit, you or the contractor.
- ☐Find out which inspections are required, such as rough plumbing and rough electrical before the walls close.
- ☐Build inspection waiting time into the schedule.
- ☐Keep copies of permits and passed inspections for your records and for resale.
For Chicago-area homeowners, the City of Chicago Department of Buildings has an Express Permit Program for certain common work. Whether your project qualifies depends on its scope, so ask the department. Local pages such as the page for Chicago-area homeowners can help with neighborhood context, but the city has the final word.
Step 7: Timeline and build sequence
Plan two timelines: the crew’s days on site, and the whole project from first meeting to final walkthrough. USA Cabinet Store reports about 2 to 6 weeks of crew time for most jobs and 2 to 4 months for the full project. The standard build follows the same order nearly every time.
| Stage | What happens | Typical time |
|---|---|---|
| 1. Demolition | Everything comes out to the studs and subfloor | Half a day to 1 day |
| 2. Plumbing rough-in | Supply, drains and valves set in place | 2 to 3 days |
| 3. Electrical | GFCI circuits, fan, lighting | About 1 day |
| 4. Framing and blocking | Backing for grab bars, glass and shelves | About 1 day |
| 5. Waterproofing | Membrane around the shower, then a water test | 1 to 2 days, plus cure |
| 6. Tile | Setting, grouting and sealing | 3 to 7 days |
| 7. Fixtures and glass | Toilet, vanity, mirror, shower door | 1 to 2 days, plus any glass wait |
| 8. Finish and punch list | Trim, caulk, paint, touch-ups | 2 to 4 days |
Watch the waiting steps. Schluter tells installers to wait 24 hours after finishing its shower membrane before water testing and tiling, and other manufacturers specify their own cure and flood-test times. Those pauses are part of the plan, not delays.
- ☐Get a written start date, finish date and an agreed list of what could move them.
- ☐Confirm that all materials are on site or delivered before demolition.
- ☐Ask for a simple stage-by-stage schedule you can check weekly.
- ☐Plan where you will bathe and where the dust will go.
Step 8: During construction
The job runs more smoothly when you treat it like a project. Short, regular check-ins catch small problems before they become expensive ones.
- ☐Set a weekly meeting or call with the contractor, and agree on who is the point of contact.
- ☐Visit the site at the end of each stage, and take dated photos, especially of the walls before they close.
- ☐Walk through the rough-in with the contractor before drywall, and confirm fixture and outlet positions.
- ☐Keep every change order in writing with the price and the schedule effect.
- ☐Protect the rest of the house: seal doors, cover floors and plan for dust.
- ☐Keep a running list of questions and open items.
- ☐Pay only for completed stages, and get lien waivers as you go.
Hidden surprises are normal
Opening a wall can reveal rot, mold or outdated pipes. Remodelers such as USA Cabinet Store suggest a 10 to 20 percent contingency for homes built before 1990. When something turns up, ask for the problem, the fix and the cost in writing before you approve it.
Step 9: The finish line
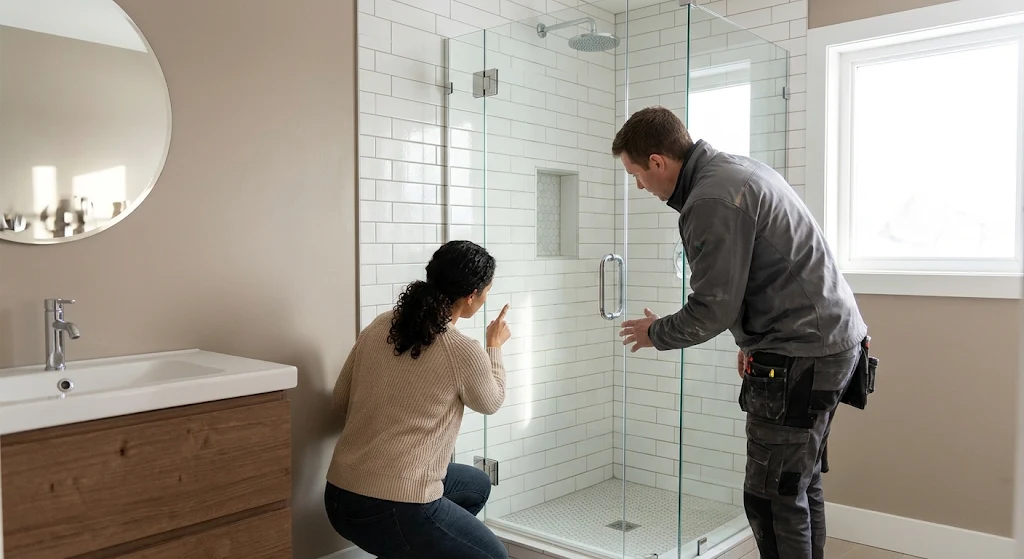
The last 10 percent of the job decides how the first year feels. The Illinois Attorney General suggests verifying the work, confirming that the job site is cleaned and getting written proof that subcontractors and suppliers have been paid before you make the final payment.
- ☐Do a walkthrough with the contractor and write a punch list of every fix.
- ☐Run every fixture: flush, fill, drain and check under the sink.
- ☐Check the shower for leaks and slow drains, and test the fan and the lights.
- ☐Look closely at tile lines, grout, caulk, paint and trim.
- ☐Confirm that the permit inspections are passed and signed off.
- ☐Collect lien waivers, warranties, manuals, paint colors and product model numbers.
- ☐Make final payment only after the punch list is done and the paperwork is complete.
Step 10: After the remodel
- ☐Keep a folder with receipts, warranties, permits, product spec sheets and photos.
- ☐Use the exhaust fan during and after showers to reduce moisture.
- ☐Check caulk and grout lines every few months, and fix small gaps early.
- ☐Use the cleaners recommended for your tile, glass and fixtures.
- ☐Write down the shower valve, faucet and tile information for future repairs.
- ☐Note questions for the warranty period, and see the FAQ for first-time remodelers for common follow-ups.
Frequently asked questions
What should I do first when planning a bathroom remodel?
Define your goals, measure the room and set a realistic budget with a contingency. Those three steps guide every later decision, from layout to materials to the contractor you choose.
How much should I budget for a bathroom remodel?
It depends on scope and location. NKBA guidance, as reported by HomeLight, suggests roughly 5 to 10 percent of a home’s value as a rule of thumb. Add a 10 to 20 percent contingency, and get written estimates for your own scope.
What permits do I need for a bathroom remodel?
It depends on your city and the work. Moving plumbing or electrical, changing the shower pan or altering the layout often needs a permit, while a like-for-like swap often does not. Ask your local building department.
How long does a bathroom remodel take?
About 2 to 6 weeks of crew time and 2 to 4 months overall for most full remodels, according to USA Cabinet Store. Ordering and permits often take longer than the build itself.
When should I order materials?
Before demolition, once the design is final. Tile, vanities and shower glass can take 3 to 12 weeks, so ordering late stalls the whole project.
What should be on the final walkthrough?
Run every fixture, check for leaks, test the fan and lights, inspect tile, grout and caulk, confirm inspections are passed, and collect warranties and lien waivers before final payment.
Final thoughts
A good remodel is mostly good planning. The building itself follows a predictable order, and the biggest risks, hidden damage, late materials, vague contracts and unplanned extras, are easiest to handle on paper, long before anyone picks up a hammer.
If you remember one thing, make it this: finish the decisions before the demolition, and put the plan in writing. You can use the bathroom service options to see which trades fit your scope, and the list of locations served to check availability. Sources checked November 2026.
Ready to turn this checklist into a plan?
Tell Reliable Bathroom Remodeling about your bathroom and ask for a free estimate. Bring your goals, your budget and your must-haves, and ask for the schedule in writing.